Configure Email Servers
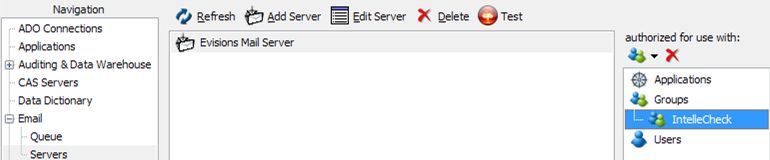
Go to the Email section, then select the Servers page beneath it. This is where you configure the email servers that IntelleCheck will use when emailing Direct Deposit advices, file copies, etc. If you have other Evisions Higher Education products, you may already have an email server configured. If not, click the Add Server button.
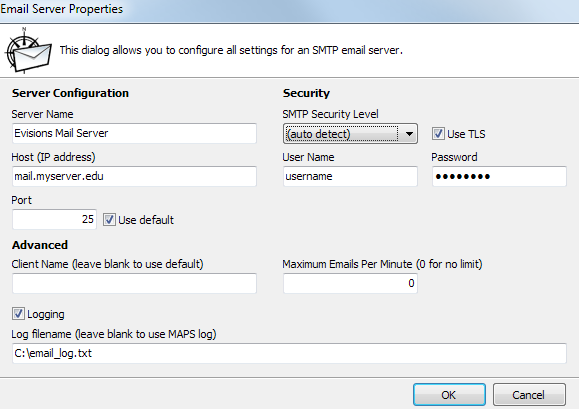
Enter a friendly name for this email server, along with the host or IP address and port number. If you do not know what security method should be used with this email server, leave it set to the default of “auto detect”.
The username and password should be the credentials for the email account to be used for sending the emails.
If you wish to retain a log of email messages, check the Logging box. Email log messages will be included in the MAPS log unless you specify an alternate filename. If you send out a large number of emails, email logging may vastly increase the size of the MAPS log if you do not specify an alternate email log file.
Click OK to add the email server.
Select the email server. Right-click in the authorized for use with pane on the right, and select Add Group. Select the IntelleCheck group so that users in this group will be able to use the mail server. You may also add additional users or groups if desired.